Sour Dough Bread

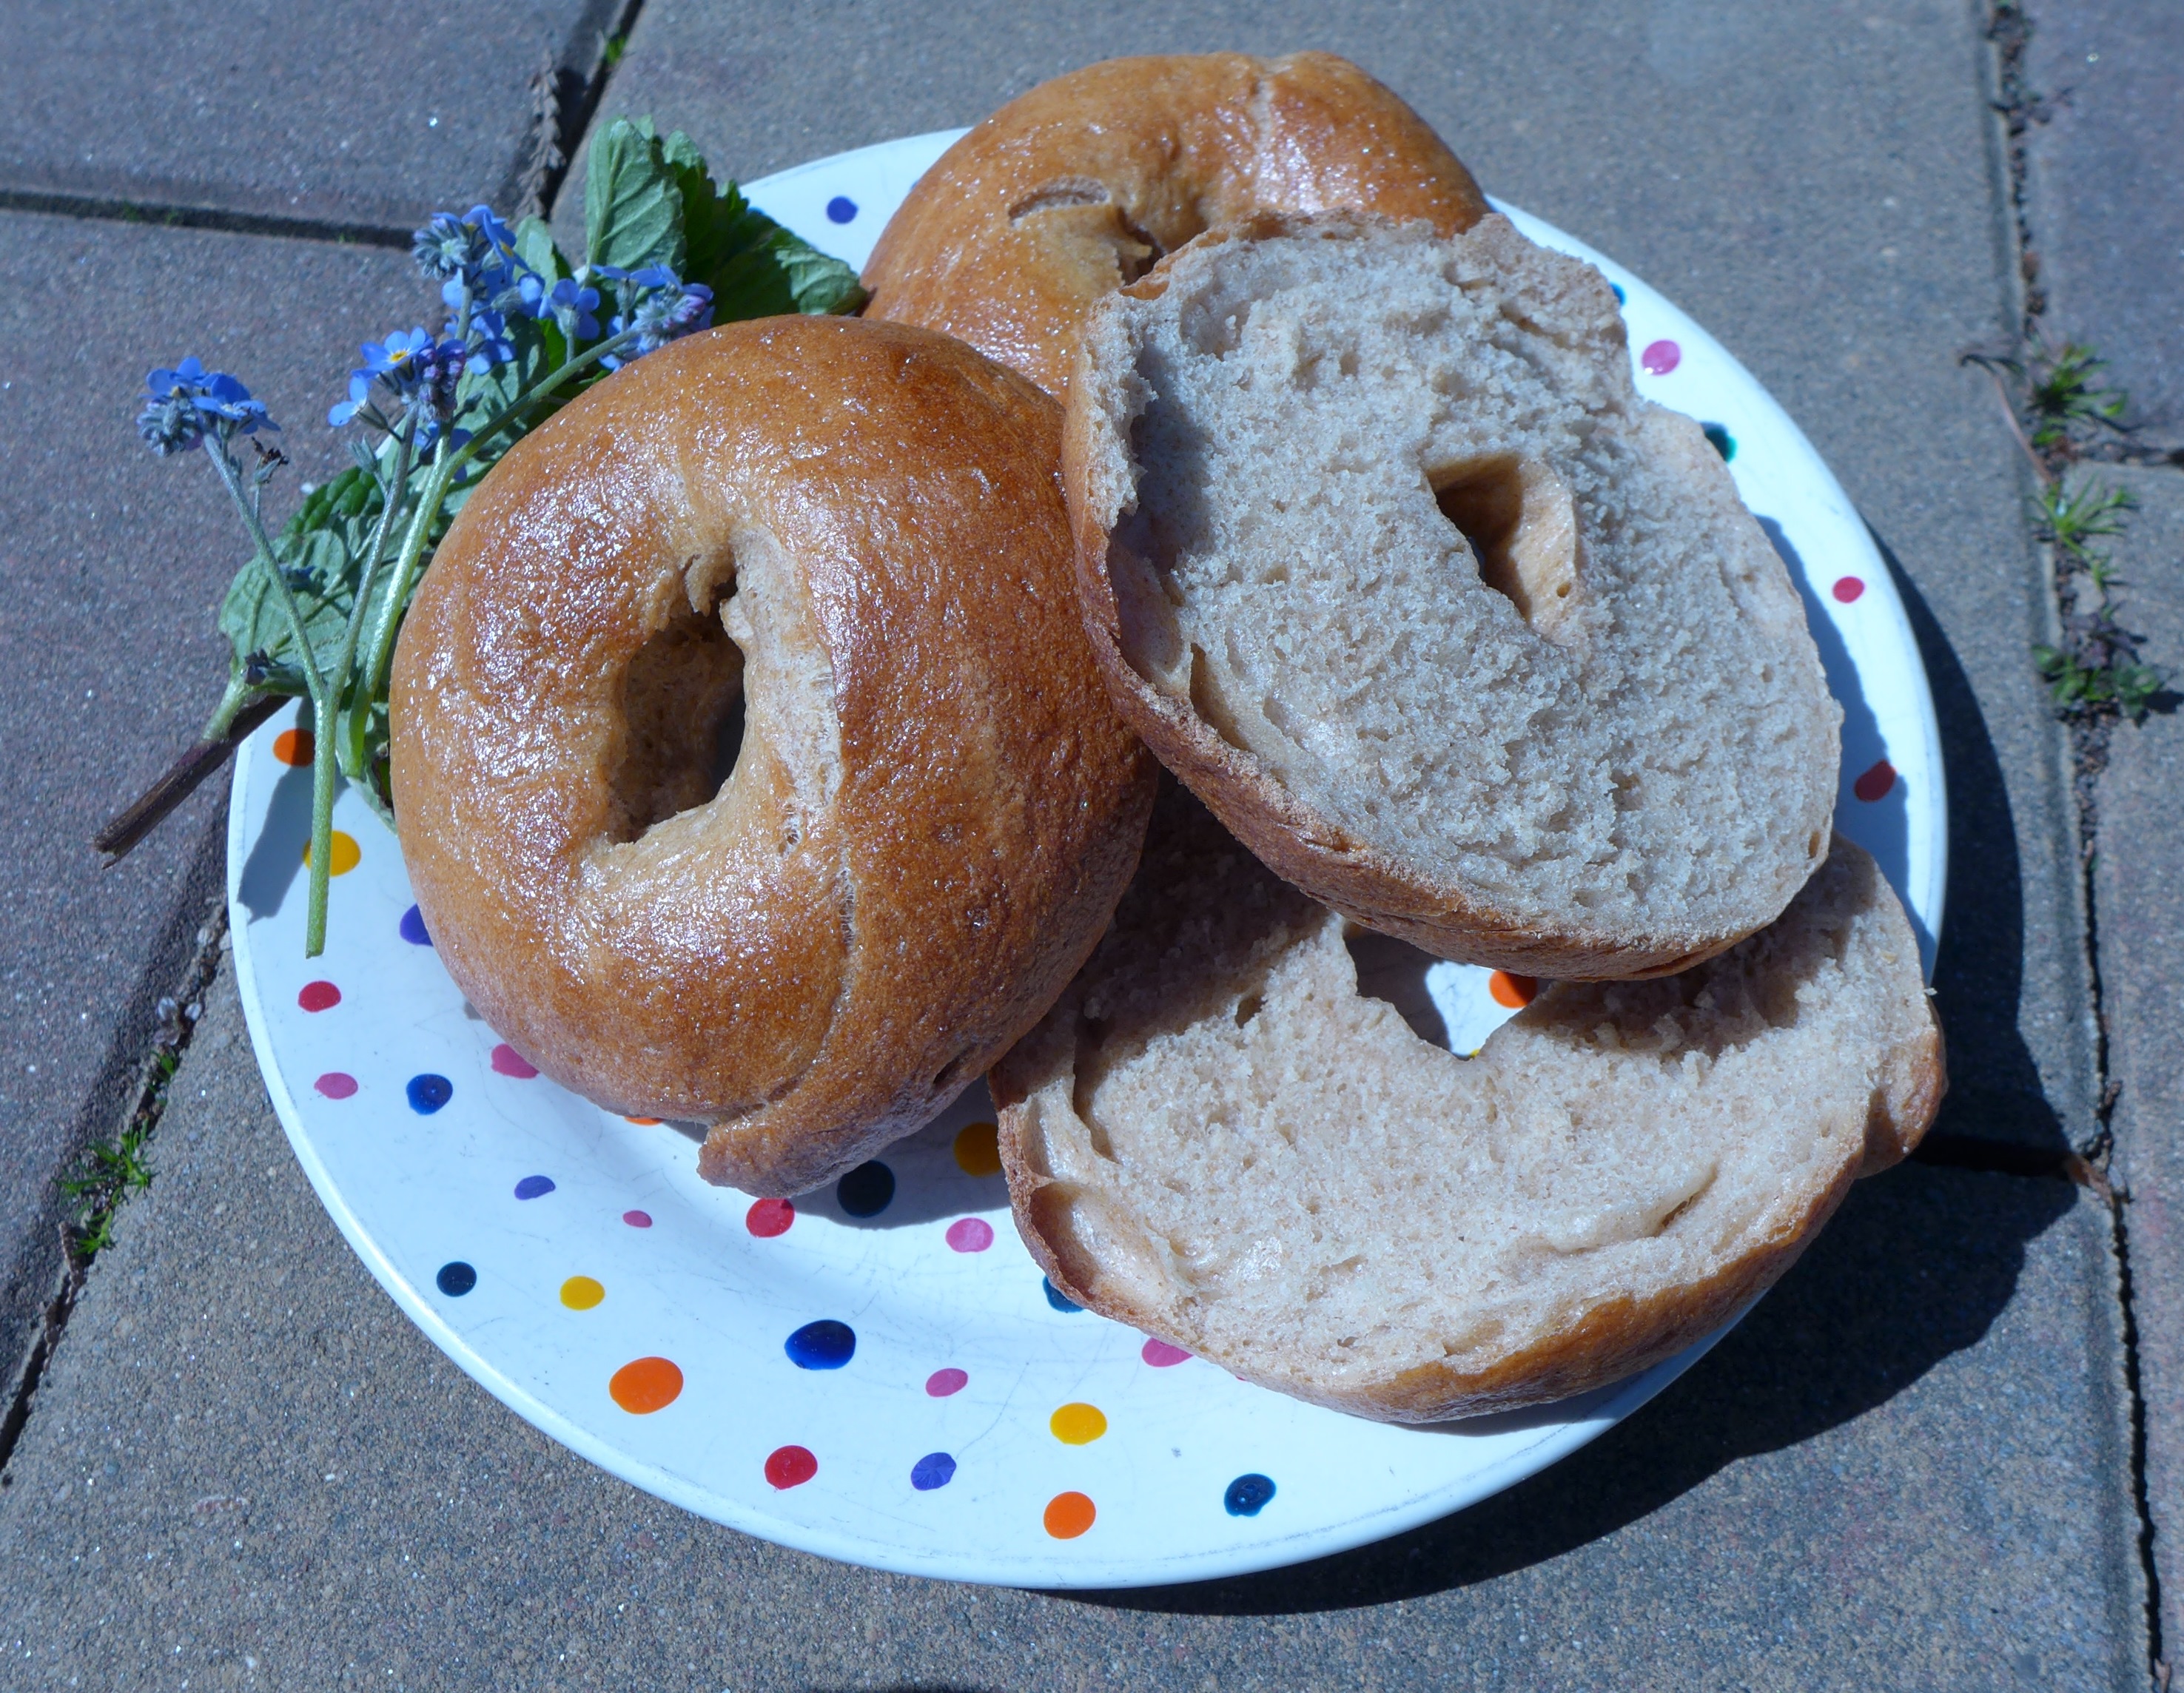
Delicious, fresh bread. There is great satisfaction in creating a beautiful loaf with your own nurtured starter. The aroma, flavor, and texture are amazing.

  • 1/4 cup sour dough starter
  • 1-1/2 cups warm water
  • 1/2 cup rolled oats (not cooked)
  • 1 cup Einkorn flour, or whole wheat flour
  • 1 cup white whole wheat flour, or whole wheat flour
  • 1 cup bread flour (unbleached)
  • 2 teaspoons salt

The day before baking day, in the morning, measure 2 tablespoons of your happy, healthy sour dough starter. Add this amount to ½ cup flour and ½ cup water. Stir well, and allow this to sit all day.

In the evening, when the super fed starter is bubbly, proceed to creating the bread dough.

Mix together all of the ingredients from the above list – except the salt.

Allow the dough to sit for at least one hour, to let the flour and oats hydrate. Then, fold in the salt.

Cover the mixing bowl with a plastic bag, or vinyl topper and let the dough sit overnight.

In the morning, the dough should be bubbly and at least doubled in size. Give the dough a bit of kneading on a lightly floured surface. Line a medium bowl with a towel and dust well with flour. Or, if you want to bake the bread in a loaf pan, oil the pan. Either way, set the dough in the bowl or loaf pan. Allow this to sit for at least one hour.

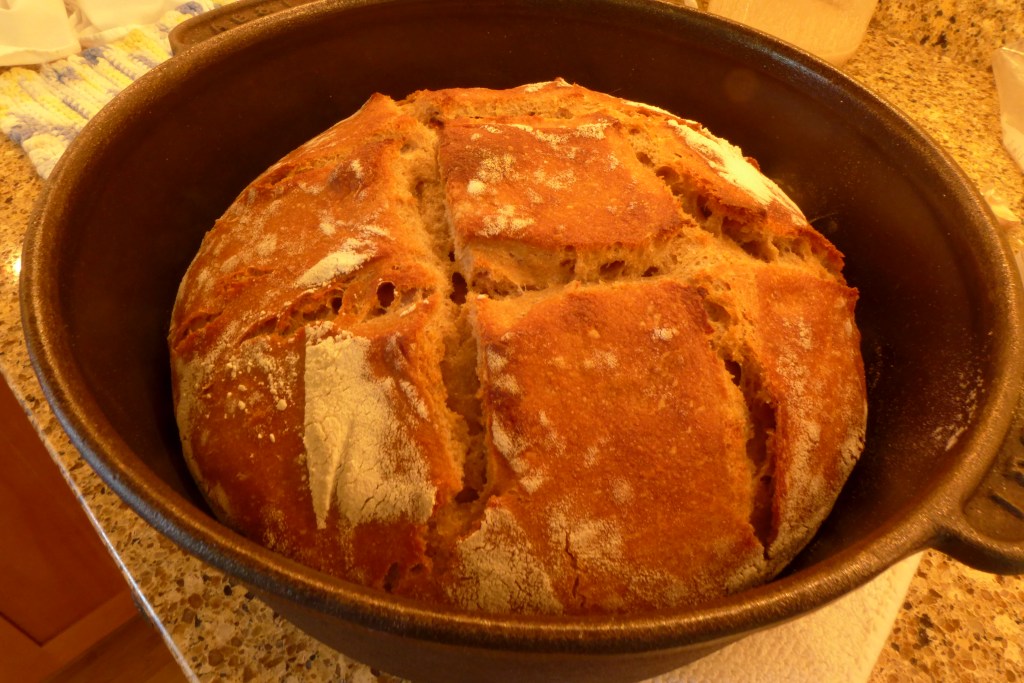
If you are baking a round (boule) loaf, set a cast iron dutch oven, with lid into the oven. Preheat the oven to 450oF. If using a loaf pan, preheat the oven to 400oF Allow the dutch oven time to heat, even after the oven has heated.

Remove the dutch oven from the oven, remove the lid, and tip the loaf carefully into the dutch oven. Replace the lid, slide it back in the oven and bake for 30 minutes.

If baking in the loaf pan, bake for 35 to 40 minutes.

When the bake time is up, check the interior temperature of the loaf. It needs to be at least 190oF. Return it to the oven for another 5 minutes if it isn’t done.

Allow the bread to cool before removing it from the pan

Enjoy.

Recipe by Jane Blaisdell, 2020. Inspired by Sandor Ellix Katz, Wild Fermentation, 2016.

Whole Grain Sourdough English Muffins

English muffins, fresh from your griddle! These are a simple bread, with a slight sourdough tang. Keep them in the refrigerator for up to a week, or freeze them for several months.

  • 1 tablespoon dry yeast
  • 1/2 cup warm water or whey (if you have been making cheese)
  • 1/2 cup plain yogurt
  • 1 tablespoon honey
  • 1 cup sourdough starter
  • 2 cups whole wheat flour
  • 1 teaspoon salt
  • 1/2 cup unbleached bread flour
  • cornmeal or extra flour
  • butter or oil

Place the yeast and the water (whey) into a large bowl. Stir to dissolve.

In a small pan, mix together the yogurt and honey. Warm them over low heat, just until lukewarm. Add this to the yeast mixture, along with the sourdough starter. Add the whole wheat flour and mix well. Allow this to sit for 20 to 30 minutes, to allow the whole grains to hydrate.

Add the salt and the bread flour, mix well. More flour can be added if it feels too sticky. Plop the dough onto a well floured surface and knead it until it is smooth.

Place the dough into an oiled bowl, and let it rise in a warm place for about 1 hour. It should double in size.

Punch down the dough and divide it into muffin sizes. I use a kitchen scale and make each muffin about 2.5 ounces. Or you can divide it into 9 to 12 somewhat equal muffins. Form each piece into a ball and flatten against a surface coated with cornmeal or flour. The pieces should be about 1/2 inch thick and well covered with meal or flour. Set the muffins on a tray and cover with a cloth. Let rise for about 45 minutes.

Heat a griddle to about 250 degrees F. Grease the griddle with butter. Bake each muffin round on the griddle for 10 minutes on each side.

Cool on a rack. Split and toast to enjoy their homemade goodness.

Prep time: about 3 hours

Makes: 9 – 12 muffins

Recipe adapted by Jane Blaisdell, 2019. Original recipe by Cynthia Lair, 2012.

Whole Grain Bread

0209191615It’s snowy today in the Seattle area, where I live, and the perfect weather to do some baking. This is a basic dough that you can play around with and make your own variations. Different flours can be used, and nuts and seeds can be added. You can also use it for cinnamon rolls, or even roll some berries into it.

  • 1 package, or 1 tablespoon, active dry yeast
  • 1 teaspoon sugar or honey
  • 1 ½ cups warm water or warm milk (about 110° F)
  • 1 ½ cups whole wheat flour
  • 1 ½ cups unbleached bread flour
  • 1 teaspoon salt
  • oil

In a large mixing bowl, mix together the yeast, sugar, and warm water. Allow it to sit and bubble a bit, to make sure the yeast is active.

Mix in the whole wheat flour and let it sit for about 30 minutes. This allows the whole grain to absorb some of the water.

Mix in the bread flour and the salt. If you have a mixer with a dough hook, it makes this part easier. if not, get a sturdy spoon and mix until the flour is completely mixed in.

Transfer the dough to a lightly floured surface and knead for a couple of minutes. When the dough feels smooth and springy, you are done kneading.

Lightly oil a large bowl. Set the dough into the bowl, and then flip it over, coating the dough with the oil. Cover with plastic or a damp cloth and wrap in a towel, or set in a warm place. Allow the dough to rise for about 1 hour.

Oil a 9″ x 5″ bread loaf pan. Punch the dough down and form into a loaf shape. The easiest way is to flatten the dough, and then roll it up tight. Place it in the loaf pan, seam side down. Cover again with the plastic or damp cloth, and let it rise for about 1 hour.

Preheat the oven to 375° F.

Bake the loaf for 30 to 35 minutes. It will be golden brown when it it done. I stick a thermometer into the side of the loaf. When it reaches an internal temperature of 190° F, it’s done.

Allow your loaf to cool a bit before you slice into it.

Enjoy!

Notes:

  • A cheap shower cap is a great plastic cover for the dough bowl (don’t throw it away after one use – give it a quick wash with soap and water and hang to dry)
  • other optional flours: white whole wheat flour, einkorn flour, rye (no more than 1/2 cup), cornmeal (no more than 1/4 cup)
  • nuts and seeds: (no more than 1/4 cup total) sunflower, pepitas, chia, flax, chopped walnuts or pecans – add these in when you add the bread flour
  • You can use all-purpose white flour instead of bread flour, but it won’t have the same quality.

Recipe by Jane Blaisdell


Whole Grain Bagels

No more store bought bagels for me. These are full of flavor and wonderfully chewy, as bagels are meant to be.

Makes 12 to 18 bagels, depending on size

You need a stand mixer with a dough hook attachment

Total prep and cook time: about 2 hours

  • 3 cups organic hard red wheat flour (Bluebird Grains is my choice)
  • 2 tablespoons malt syrup
  • 2 teaspoons salt
  • 1 tablespoon honey
  • 1 packet active dry yeast (about 2 ½ teaspoons)
  • 1 ½ cup warm water (105o to 110o F)
  • 2 or more cups unbleached white bread flour
  • 1 egg
  • Optional toppings: poppy seeds, sesame seeds, coarse salt, dried garlic flakes

Combine the wheat flour, malt syrup, salt, honey, yeast, and warm water in the bowl of a stand mixer. Allow this to sit for 15 to 20 minutes, or until bubbles form.

Add 1 cup of the white bread flour, attach the dough hook and mix on low speed. Add ½ cup of flour at a time, until the dough is somewhat stiff. Increase the mixer speed to medium and continue mixing until the dough is smooth and elastic, 8 to 9 minutes more.

Place the dough in a large, lightly oiled bowl. Turn the dough to coat with the oil, and cover it with a damp towel. Allow the dough to rise for 20 to 30 minutes in a warm place. (I like to set the bowl in the oven, turn the oven on for just one minute, and then turn it off.  –I set a timer so I don’t forget to turn it off)  This dough will not double in size.

Preheat the oven to 425o F (or 400o F for a convection oven)

Fill a large pot with water and bring to a boil. Reduce the heat to medium and simmer.

Lightly oil a tray or baking sheet.

Place a metal rack over a second baking sheet.

Turn the puffy dough onto a dry work surface. Divide the dough into equal sized pieces. Standard bagels are about 3 ounces. For smaller bagels I like to cut them into 2 or 2 ½ ounce pieces. Keep the damp towel over the dough you are not working with, to keep it from drying out.

Roll each dough piece into a rope, about the thickness of a roll of nickels. Lightly moisten the ends with water, overlap the ends about one inch and press to join so you’ve created a bagel. As necessary, widen the hole in the middle so it is approximately the size of a quarter, and lay them on the oiled tray. Cover the shaped bagels with the damp cloth and let them rest for 10 minutes.

In the simmering water, boil the bagels 3 or 4 at a time for about 30 seconds on each side. Remove them to the rack sitting over the baking sheet, to allow them to drip dry.

Move the boiled bagels to an oiled or parchment lined baking sheet, about one inch apart. Whisk the egg with 1 tablespoon water and brush each bagel with the mixture. If you want toppings on the bagels, sprinkle them on now.

Bake for 20 to 25 minutes, until the bagels are a deep caramel color.

Let them cool for at least 30 minutes so the interiors finish cooking and the crusts form a chewy exterior.

When cooled, store them in an air tight container. Eat them within a couple of days, or store in the freezer for several months.


Recipe modified by Jane Blaisdell. Original recipe from PCC Cooks.

bagels